Bambu Printer - Carbon X1 - Basics

To use the 3D Bambu printers, you should know the basics of the corresponding software, to find this info go to our 3D Software information.
The Makersloft coordinator, or a trained LLC personnel, should ALWAYS be checked in with before the 3D printer is used, even if you are very experienced with printers. It’s an opportunity for us to coordinate use of the machine, as there may be multiple print requests already waiting for the printers. The makersloft coordinator or LLC personnel are happy to teach you how to use the printer if you are not experienced! To schedule a consultation on this, or any other machine in the makersloft, contact alexis.gonzalez@usu.edu to schedule an appointment.
These are the very basics needed to understand and work the machine on a day-to-day basis. Even if approved to use the printer (after checking in, always required), if there is an error or issue with the 3d Printer Machine, please do not attempt to fix and instead contact the makersloft coordinator to troubleshoot.
Filament

The plastic fed into the 3D printer to be melted and placed in layers to create the final product (object). These come in ‘spools’ from various companies, and we ensure we use Bambu filament with the Bambu machines. Filament can come in different colors, and in different types which all have varying properties. Filament types: PLA (and it’s subtypes), PET, PETG, ABS, and PC are all types you can purchase from Bambu, with PLA being the most common.
Note: Spools of filament are usually 1kilogram (1,000 grams), and the makersloft has various spools in-house but a patron may purchase their own Bambu spool. If you use makersloft filament, it’s 0.06 cents per gram, and if you bring your own spool it can be free to use (makersloft coordinator must still be aware and approve of the prints).
- PLA: Polyactic Acid filament is made from renewable resources like cornstarch or sugarcane. Properties are easy to print and beginner friendly, very strong, very stiff, low durability, low melting point, warp resistant, and chemical-resistant.
- PLA has many subtypes including PLA CF (carbon fiber) which is stronger with minimized layer lines, PLA Silk is reflective, smooth, and has a higher tensile strength, PLA Aero is lighter weight with some impact resistance, and there are more like PLA Matte, PLA Marble, PLA Sparkle, PLA Gradient, etc., whose properties are aesthetic differences.
- PET/PETG: Polyethylene Terephthalate mixed with Glycol, which is a polyester-based plastic with glycol. Properties are easy to print, mid-strength, very durable, impact resistant, somewhat flexible, chemical-resistant, minimal warping, water resistant, and can be translucent.
- ABS: Acrylonitrile Butadiene Styrene filament is a thermoplastic material. Properties are harder to print, mid-to-lower strength, somewhat flexible, very durable, lightweight, minimal warp, and good heat and cold resistance.
- PC: Polycarbonate filament made from thermoplastic material. Properties are very hard to print, strongest, stiff, very durable. very heat resistant, chemical resistant, and translucent.
AMS Box
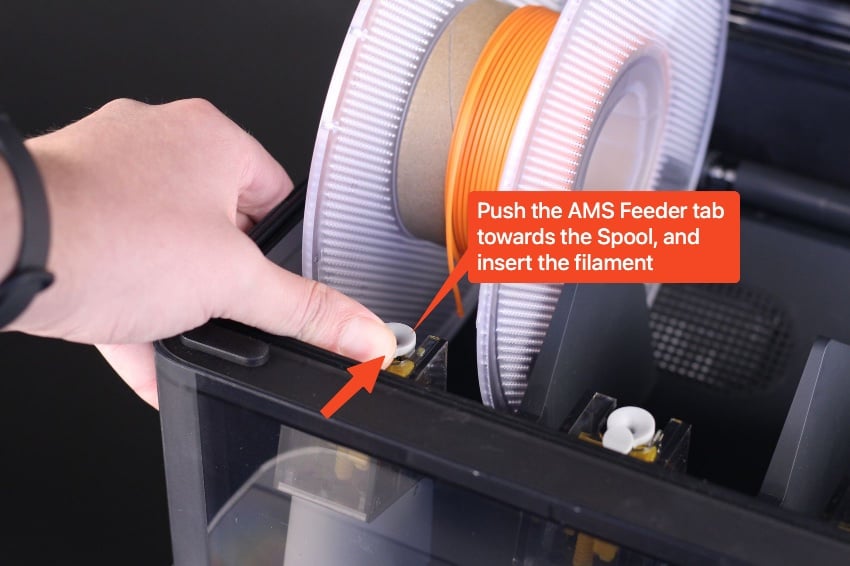

We have ‘AMS boxes’ on our printers, and this is just the clear boxes on top of the 3D printer itself that holds and ‘feeds’ (pulls in) the filament into the machine. We currently 4 slots in an AMS, leaving patrons with 4 color options to either choose one of or to use up to all 4 for a multi-colored print. To change what options may have been left in the AMS previously, you must first remove one from a previous slot. See ‘Change filament’ under the Screen section, as that is where you start for changing out filaments.
Screen
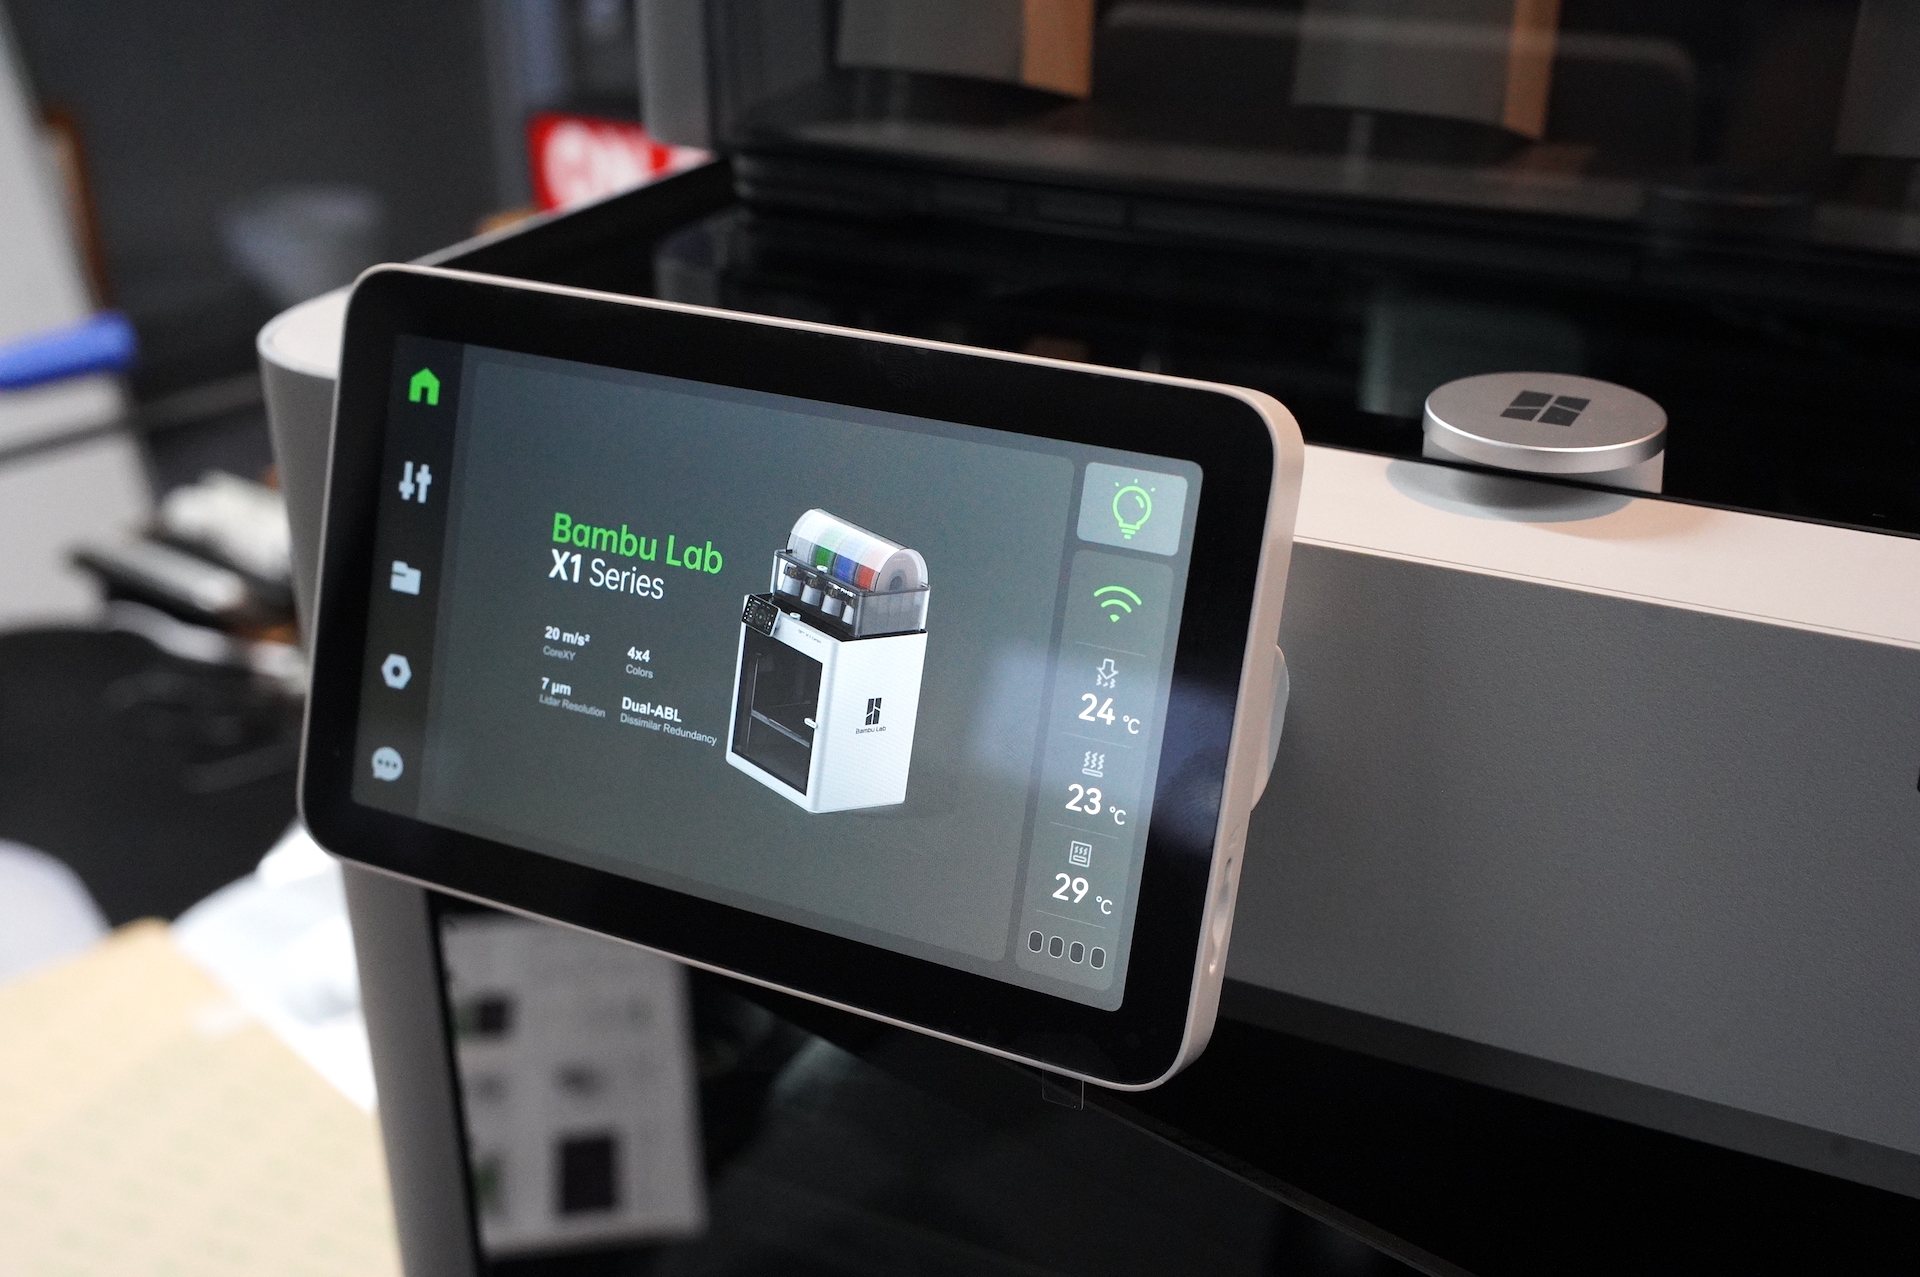
The screen is located at the top left of the machine. There are five main tabs on the left side.
Home Screen Tab: you can see the current print status or see a basic screen that tells you the current temperatures on the right side of the screen.
Filament Tab: This opens to a scree with four options at the top, one that says ‘Temperature/Axis’, one says ‘Filament, one says ‘Utilities” and the last says ‘Print Options’. The most common use for the regular user will be the main ‘filaments’ that you can go to when changing filaments.
Change filament: if a filament is still loaded, select the color and press unload before removing the entire filament spool from the AMS to replace with a new color. Place new color in the empty slot, ensuring that the path for the filament to go is on top of the spool and pulling forward toward yourself. Take the end of the filament spool and feed into the small grey hole open in front of the filament slot. You may need to press your thumb on the grey entry piece and push it toward the spool while pushing in the filament to start the load, but after that the printer will automatically feed the filament. The 3D printer may sense the correct filament by itself, but if not you can press the pencil icon on the box corresponding with the slot for the new filament, and imputing the correct information

Plate
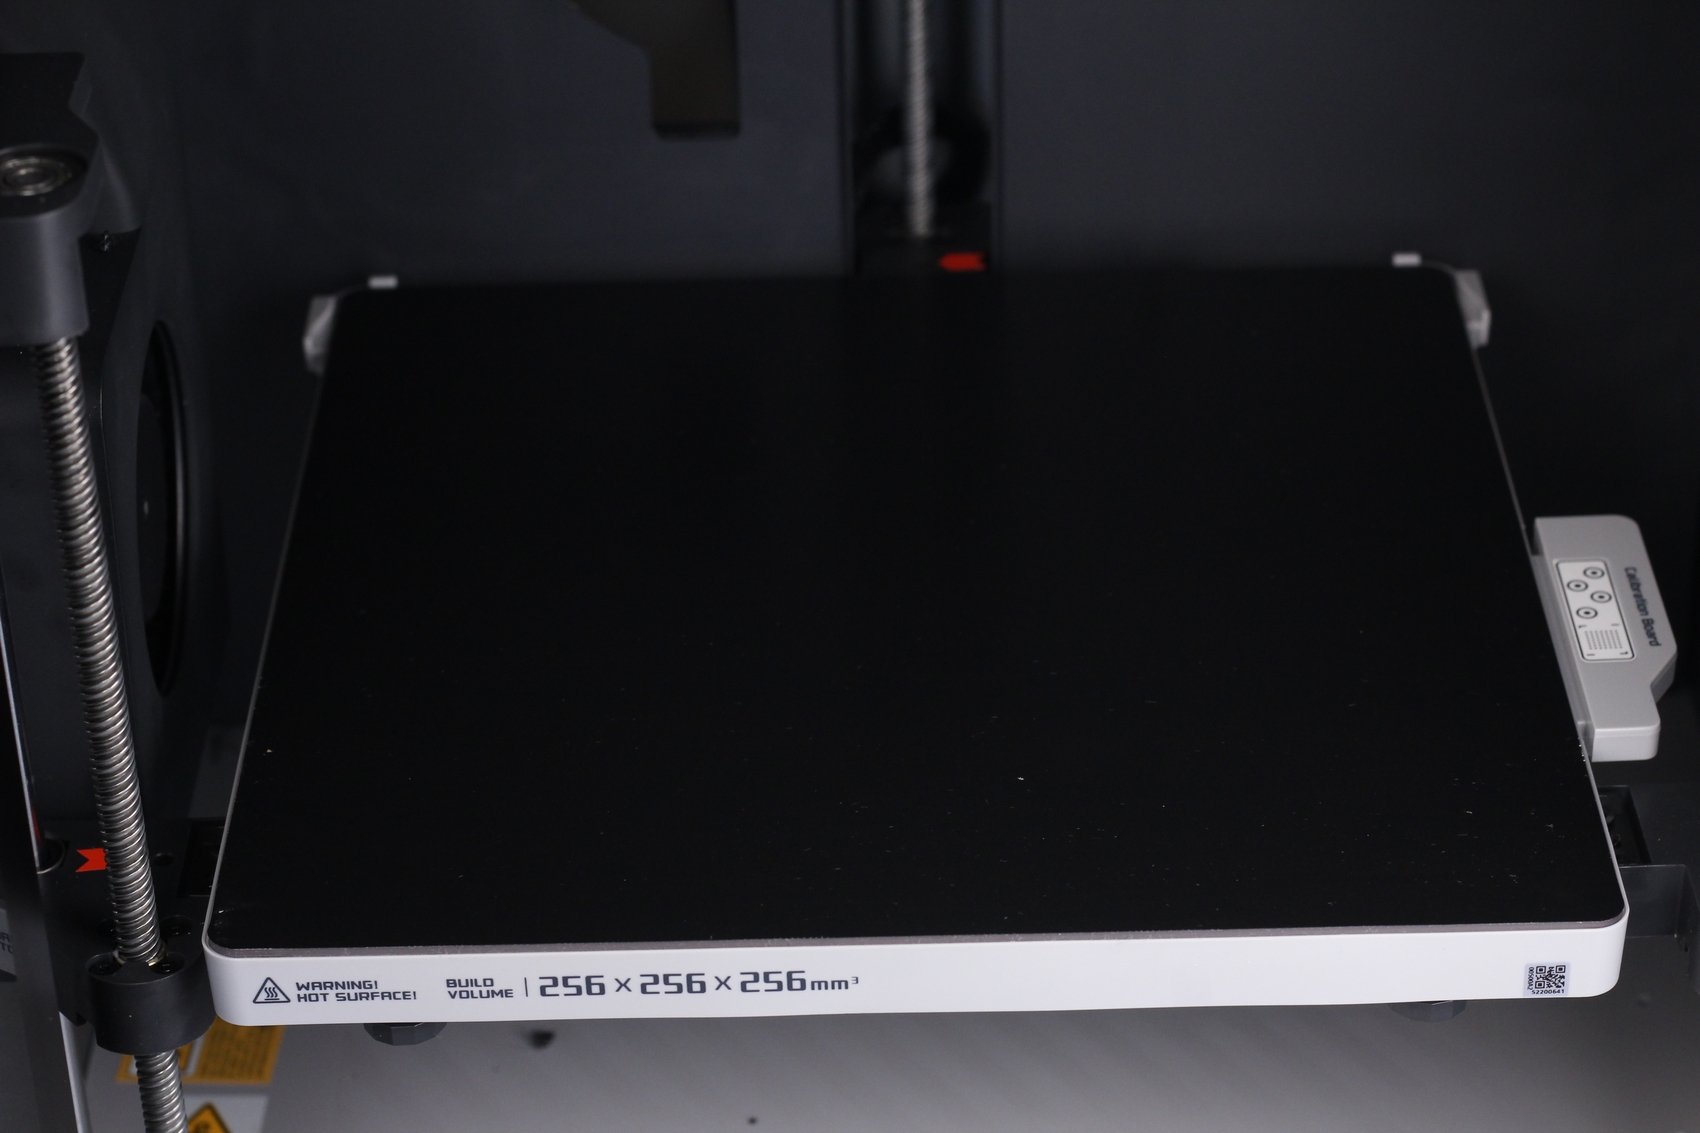
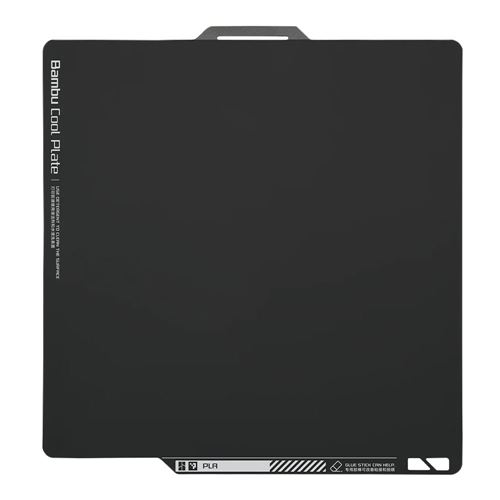
The plate bed is not removable, and connected to the rest of the machine. The plate itself is removable, and fairly flexible. The plate attaches to the bed as it’s magnetic. It’s this plate that the filament will print the object onto. When printing is completed, the plate can be lifted (not pulled at all, lifted upwards in an almost pushing up motion), then removed from the bed. The printed object can be removed either by hand or by a spatula like tool, bending the plate will help dislodge the object from the plate.
Note: some plates are textured for filament to grip onto, but plate may also feel smooth and need a layer of regular non-toxic glue to give the filament something to stick to for the first layer
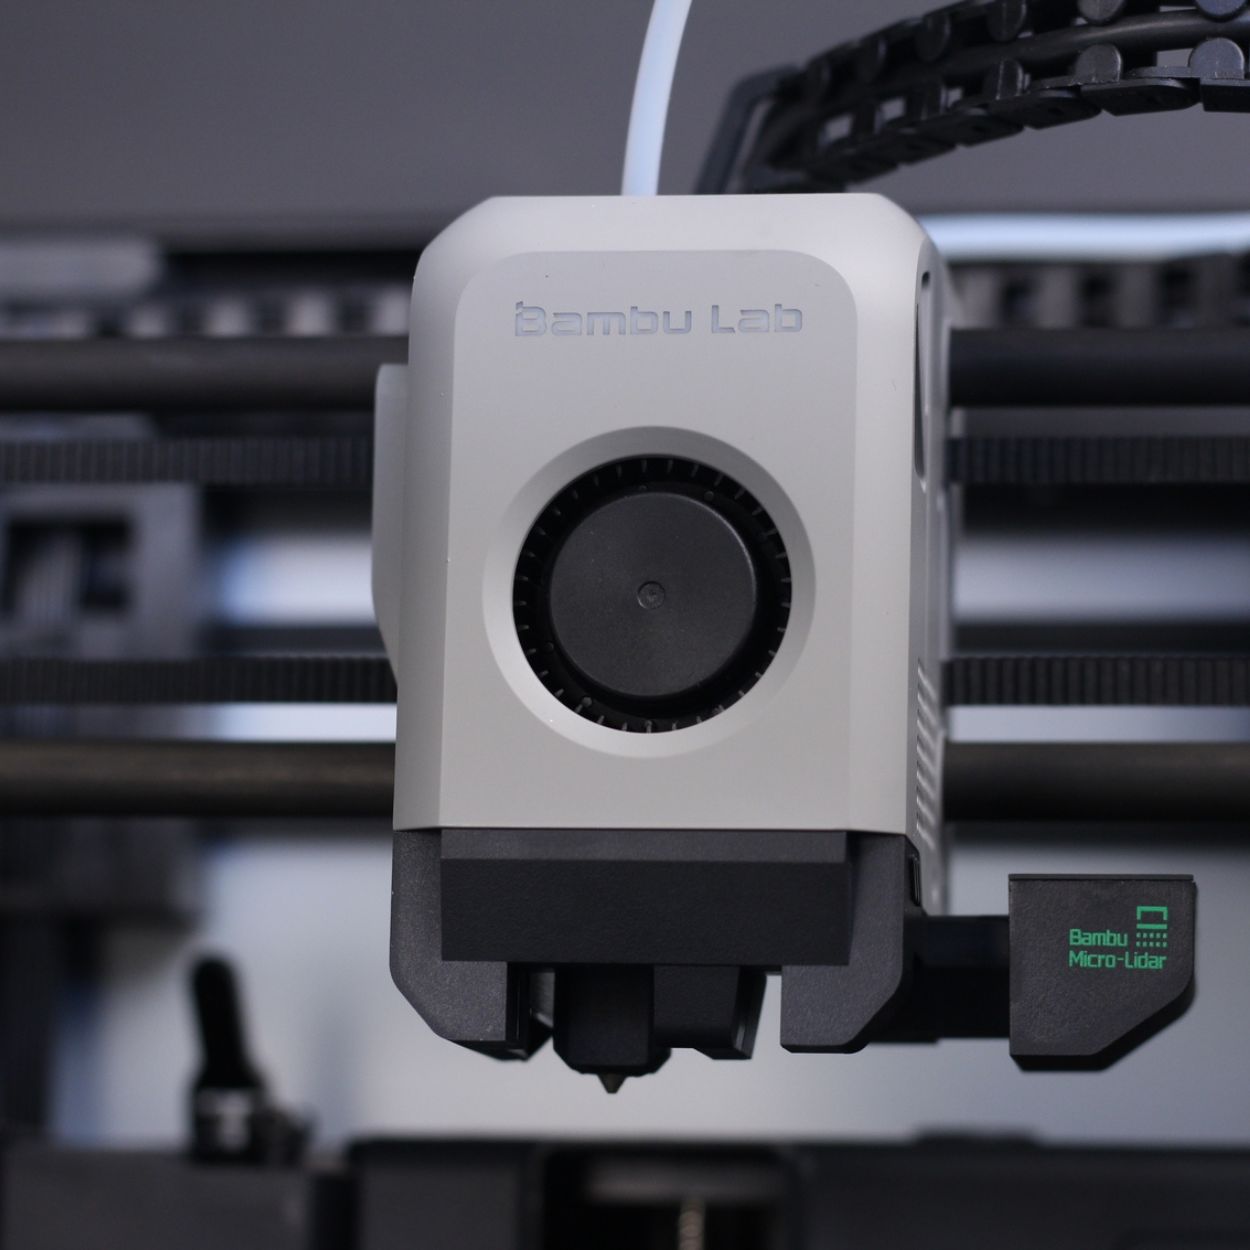
Hothead and connecting Feeding Tubes
This is the part of the machine the filament feeds into and gets very hot to melt the filament. It will move on the x and y axis (side ot side, and front to back) to make the shape while the plate base moves the z axis (up and down) to print from bottom of object to top.
There are white tubes that connect from the hothead through to the back of the machine, and up to the AMS box. This is where the filament is pushed through as it is used. (see the above picture to see example of white feeding tube into the hothead).
Makerspace Programs Coordinator

Helpful Links
-
Order a 3D Print from the LLCHere you can fill out a form to print an item through the LLC without having to come in person.
-
Bambu Labs SoftwareBambu Studio is an open-source, cutting-edge, feature-rich slicing software. Free to download!
-
ThingiverseFind all kinds of cool files already out there!
-
ThangsSearches lots of other 3D websites for all kinds of cool files already out there! Some files may cost, unless you filter for free models.
-
Bambu Wiki (Info) GuidesTo learn more about how to use the Bambu Software or Printers, you can view their own wiki site.
